Distinguishing Sample Preparation Errors from HPLC Instrument Problems
Technical guide to troubleshoot Distinguishing Sample Preparation Errors from HPLC Instrument Problems: common causes and practical remedies to restore stable baselines.
Distinguishing Sample Preparation Errors from HPLC Instrument Problems
An Expanded, Symptom-Driven Troubleshooting Framework for Reliable HPLC Data
High-performance liquid chromatography (HPLC) is intended to generate reproducible, interpretable, and decision-ready data. When chromatographic performance degrades—retention time shifts, peak distortion, poor repeatability, ghost peaks, baseline instability, or abnormal pressure—the most important troubleshooting decision is identifying whether the root cause is:
Sample preparation (chemical/physical state of the sample before injection), or
Instrument performance (autosampler, pump, degasser, column, detector, plumbing, or software control)
This distinction matters because the two categories require very different fixes. Sample preparation problems are addressed by improving extraction, dilution, pH control, filtration, stability, and matrix cleanup. Instrument problems are addressed by verifying flow, gradient formation, temperature control, injection reproducibility, detector stability, and system cleanliness.
A practical diagnostic rule that works in day-to-day lab troubleshooting:
Replicate injections of the same vial isolate instrument variability. Replicate independent sample preparations isolate sample-preparation variability.
In other words:
If repeated injections from the same vial look different, the instrument is likely contributing variability.
If repeated injections from the same vial look consistent, but independently prepared samples differ, sample prep is likely driving variability.
Analytical Context: Why Problems Look Similar (But Aren’t)
HPLC chromatograms are the combined output of (1) how the sample was prepared and (2) how the instrument performed during injection, separation, and detection. Many symptoms can be produced by either source. For example:
Poor peak area repeatability can occur from pipetting error (prep) or inconsistent injection volume (instrument).
Retention time drift can occur from sample pH differences (prep) or gradient proportioning errors (instrument).
Ghost peaks can occur from contaminated reagents (prep) or autosampler carryover (instrument).
Because the same symptom can have two very different causes, the correct approach is not guessing—it is isolating variables through targeted controls.
Key Metric: Precision and %RSD (Plain Text)
Precision is often expressed as percent relative standard deviation.
Plain text formula:
%RSD = (standard deviation / mean) × 100
Interpretation:
If %RSD is high for repeated injections from the same vial, suspect instrument/injection/detector behavior.
If %RSD is low within a vial but high across independent sample preparations, suspect sample prep variability.
Core Conceptual Differences
What Sample Preparation Errors Do
Sample preparation errors change the analyte or matrix before injection by affecting:
Amount present (extraction recovery, dilution accuracy)
Chemical form (pH-dependent ionization, degradation)
Solubility and physical state (precipitation, particulates)
Matrix composition (co-extractives that cause suppression or peak distortion)
A key feature of many sample prep problems: once the vial is prepared, repeated injections from that vial often look relatively consistent (even if they are “consistently wrong”).
What Instrument Problems Do
Instrument problems change how the system delivers solvent, injects sample, controls temperature, separates analytes, or detects signal. That includes:
Injection volume variability, needle seat leaks, carryover (autosampler)
Flow instability, gradient errors, pulsation (pump/proportioning/mixer)
Bubble formation (degasser, leaks, cavitation)
Efficiency loss or voids (column/guard column)
Drift, noise, or spikes (detector, flow cell, electronics)
A key feature of many instrument problems: repeated injections from the same vial can vary.
Symptom-Based Differentiation (Expanded)
1) Retention Time Shifts
Retention time shifts are strongly influenced by flow rate, mobile phase composition, temperature, and analyte ionization state.
Likely Sample Prep Causes (What’s Happening)
Sample solvent too strong relative to the initial mobile phase: the analyte experiences a locally stronger eluent at injection, which can reduce retention and cause early elution or breakthrough.
Sample pH mismatch: ionizable analytes may change charge state, which changes interaction with the stationary phase.
Ionic strength mismatch: can change retention for ionic or polar compounds through altered secondary interactions.
Likely Instrument Causes (What’s Happening)
Gradient proportioning or mixing errors: the delivered composition differs from what the method specifies.
Temperature instability: retention is temperature sensitive; small changes can move retention time measurably.
Degassing failure/bubbles: bubble events can disturb flow consistency or mixing behavior.
Diagnostic Actions (How to Separate Causes)
Inject the same vial multiple times:
Stable retention time suggests the instrument is behaving consistently, pushing suspicion toward sample prep.
Variable retention time across identical injections increases suspicion of instrument issues.Inject a system standard prepared in mobile-phase-matched solvent:
If the standard retention time is stable but the sample is not, sample prep is more likely.Verify pump prime/purge and confirm gradient behavior using step changes while monitoring pressure response.
2) Peak Shape Problems (Tailing, Fronting, Splitting)
Peak shape reflects the combined effects of solvent mismatch, column condition, dead volume, overload, and matrix effects.
Likely Sample Prep Causes (What’s Happening)
Precipitation or particulates: can partially plug the inlet frit or create inconsistent mass transfer, producing fronting/splitting.
Incomplete dissolution: undissolved analyte releases unevenly during injection.
pH mismatch: partial ionization creates mixed interaction modes, increasing tailing.
Matrix co-solvents/co-extractives: can alter stationary phase interactions and distort peak symmetry.
Likely Instrument Causes (What’s Happening)
Column void/degradation: creates non-ideal flow paths and band broadening.
Dead volume from fittings: extra-column dispersion causes broad, distorted, or split peaks.
Autosampler defects: needle seat wear or partial injections can alter peak shape.
Diagnostic Actions
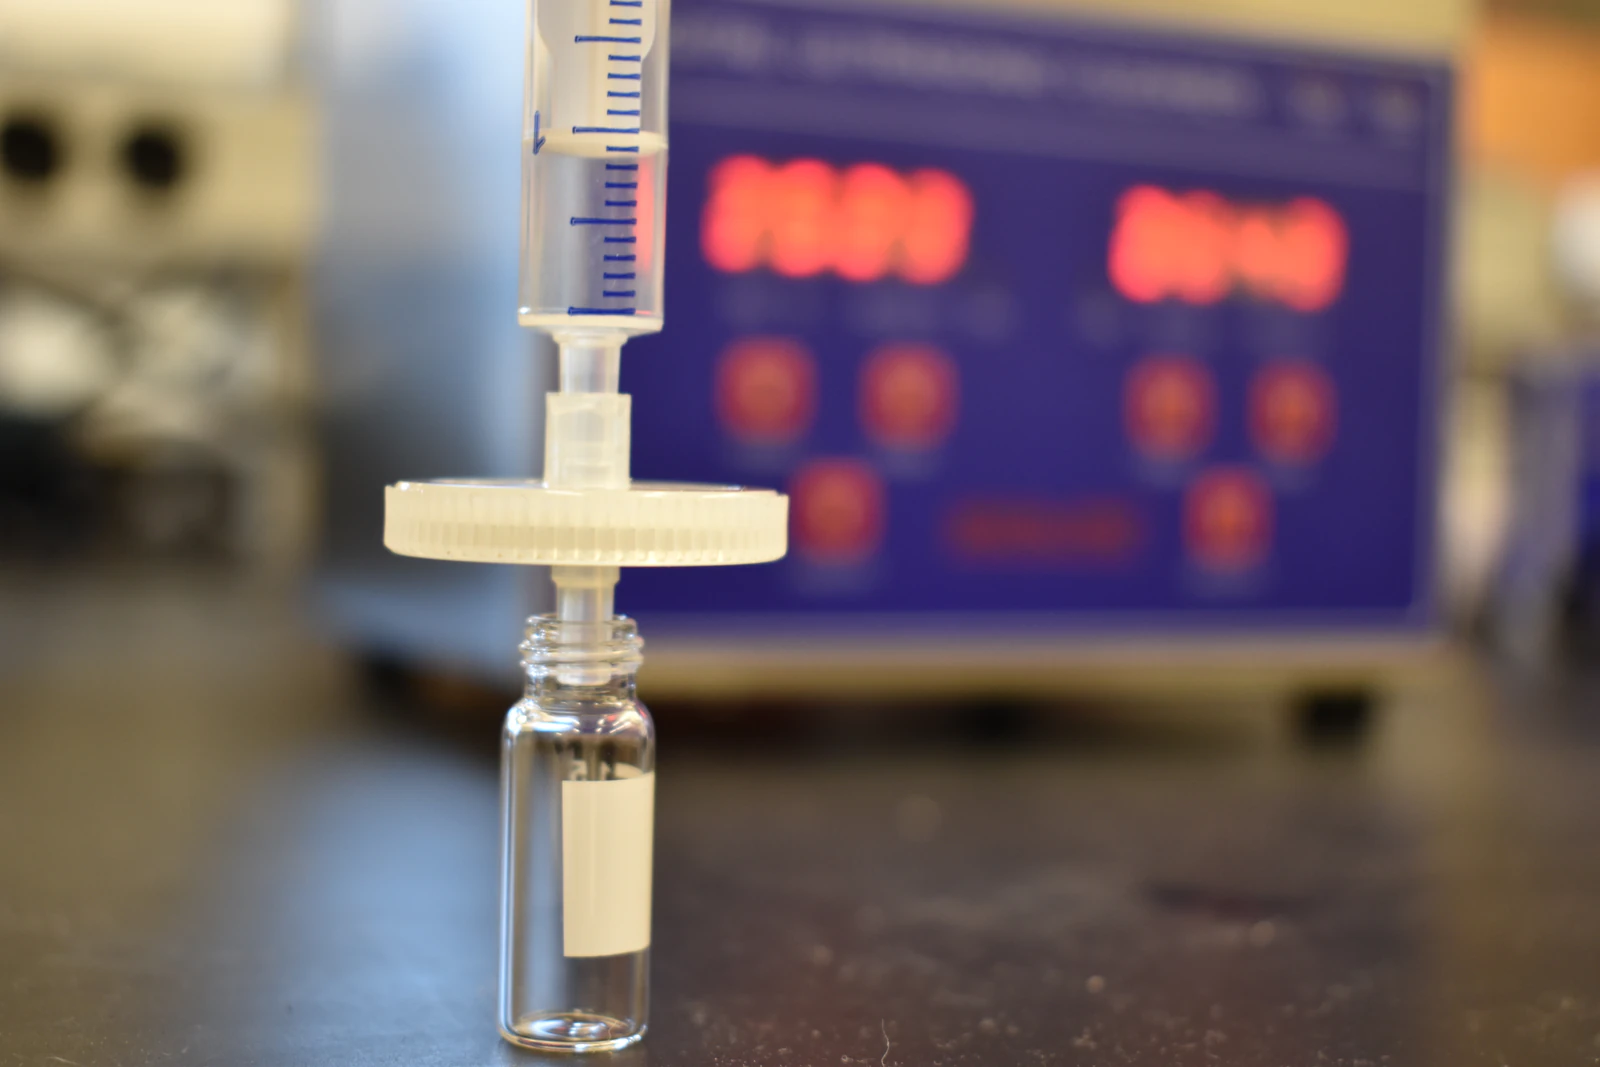
Filter and compare:
Filter through 0.2–0.45 µm and compare filtered vs unfiltered chromatograms.Match sample diluent to initial conditions (or weaker) and reduce injection volume.
Swap column and inspect fitting quality and insertion depth.
Perform a strong solvent flush if contamination is suspected.
3) Variable Peak Areas / Poor Repeatability
Likely Sample Prep Causes (What’s Happening)
Pipetting or dilution errors: concentration is not consistent across preparations.
Extraction variability: recovery differs due to mixing, time, temperature, or phase separation differences.
Instability: analyte degrades during prep or storage, causing area loss over time.
Adsorption: analyte binds to vial walls or filters, causing inconsistent recovery.
Likely Instrument Causes (What’s Happening)
Autosampler injection inconsistency: variable drawn volume, bubbles, or syringe issues.
Flow instability: pulsation or flow variation affects detector response and peak area integration.
Detector drift/noise: baseline instability can affect integration and measured area.
Diagnostic Actions
Multiple injections from the same vial:
High variability indicates instrument/injection/detection.Multiple independent sample preparations:
High between-prep variability with low within-vial variability indicates sample prep.Spike-recovery and standard addition:
These isolate recovery and matrix effects from instrument behavior.Dilution linearity from one stock:
If response is nonlinear when it should be linear, evaluate detector/instrument factors and integration consistency.
4) Ghost Peaks, Extra Peaks, Carryover
Likely Sample Prep Causes
Impure solvents/reagents or contaminated glassware/tubes.
Degradation products forming over time after preparation.
Incomplete cleanup leaving co-extractives.
Likely Instrument Causes
Carryover in autosampler needle/seat or injection path.
Mobile phase contamination or leachables.
Gradient memory effects due to inadequate re-equilibration.
Diagnostic Actions
Inject blank mobile phase from clean vials:
If peaks persist, suspect instrument/mobile phase.Alternate high/low injections to reveal carryover patterns.
Increase wash strength and duration; then retest.
Prepare a fresh sample with fresh reagents to check if ghosts disappear.
5) Baseline Noise, Drift, Spikes
Likely Sample Prep Causes
Microbubbles introduced during sample handling.
UV-absorbing diluents or mismatched solvents.
Likely Instrument Causes
Degasser issues, leaks, cavitation.
Flow cell contamination.
Lamp aging or detector instability.
Electrical noise/grounding issues.
Diagnostic Actions
Evaluate baseline on a system blank with no sample injection.
Prime lines, inspect for leaks, confirm degasser operation.
Clean flow cell and check detector diagnostics and lamp condition.
Confirm temperature stability.
6) Abnormal System Pressure / Pressure Instability
Likely Sample Prep Causes
Particulates precipitating at column head after injection.
Viscous injection solvent causing transient spikes.
Likely Instrument Causes
Column fouling, guard column blockage, frit restriction.
Obstructions in tubing/unions.
Pump check valve sticking or seal wear.
Diagnostic Actions
Compare pressure during blank vs sample injections:
Spikes only with sample suggest prep.Remove column and test backpressure to localize restrictions.
Strong solvent flush; reverse flush only if allowed by column chemistry.
7) Resolution Loss / Coelution (Plain Text Formula)
Resolution between two peaks is:
Plain text formula:
Rs = 2 × (tR2 − tR1) / (w1 + w2)
Where:
tR1 and tR2 are the retention times of peak 1 and peak 2
w1 and w2 are the peak widths (measured consistently using the same width definition)
Likely Sample Prep Causes
Variable sample pH or ionic strength changes selectivity for ionizable analytes.
Matrix components increase dispersion or interact with the stationary phase.
Likely Instrument Causes
Column aging reduces efficiency (broader peaks → larger widths → lower Rs).
Gradient timing/composition errors change selectivity or retention spacing.
Diagnostic Actions
Run system suitability standards:
If standards fail, instrument/column is likely.Prepare fresh mobile phase and verify buffer pH with a calibrated meter.
Compare against a reference column.
Structured Diagnostic Workflow (Expanded and Practical)
Step 1: Stabilize and Prove the Instrument Baseline
Before blaming samples, establish that the system can generate clean chromatograms.
Prepare fresh mobile phases if there is any suspicion of contamination or incorrect composition.
Verify buffer pH and ionic strength (especially for ionizable analytes).
Prime and purge solvent lines to remove bubbles.
Run a blank and a system standard to confirm baseline stability, retention time stability, and acceptable noise.
Step 2: Separate “Within-Vial” vs “Between-Preparation” Variability
Inject the same vial repeatedly to quantify instrument repeatability.
Prepare three or more independent sample preparations from the same source material.
Compare:
Within-vial precision (instrument/injection stability)
Between-prep precision (preparation reproducibility)
Step 3: Check Solvent Strength and Compatibility
Use diluent equal to or weaker than the initial mobile phase.
Reduce injection volume to minimize solvent mismatch effects.
Inspect visually for precipitation before and after filtration.
Step 4: Control for Analyte Stability
Compare freshly prepared and time-aged samples.
Protect from light if needed.
Minimize time at room temperature if instability is suspected.
Step 5: Subsystem-Specific Instrument Checks
Autosampler: injection reproducibility, needle seat, wash strength, carryover tests.
Pump/mixer: flow stability, gradient step performance, check valves, seals.
Column: backpressure trend, efficiency, void behavior, guard column condition.
Detector: baseline stability, flow cell cleanliness, lamp condition.
Plumbing: verify fittings and capillary internal diameters to reduce dead volume.
Decision Criteria (Operational Rules)
If blanks and standards meet suitability but samples fail: focus on sample preparation.
If standards and samples fail similarly: suspect instrument/column/detector.
If variability is high across injections from the same vial: suspect instrument.
If variability is low within vial but high across independent preparations: suspect sample prep.
If issues appear only at high concentration and persist into later injections: evaluate carryover vs solubility limits.