Blocked Autosampler Needles Causing Missing HPLC Peaks
Technical guide to troubleshoot Blocked Autosampler Needles Causing Missing HPLC Peaks: what to check first and how to correct it to recover resolution.
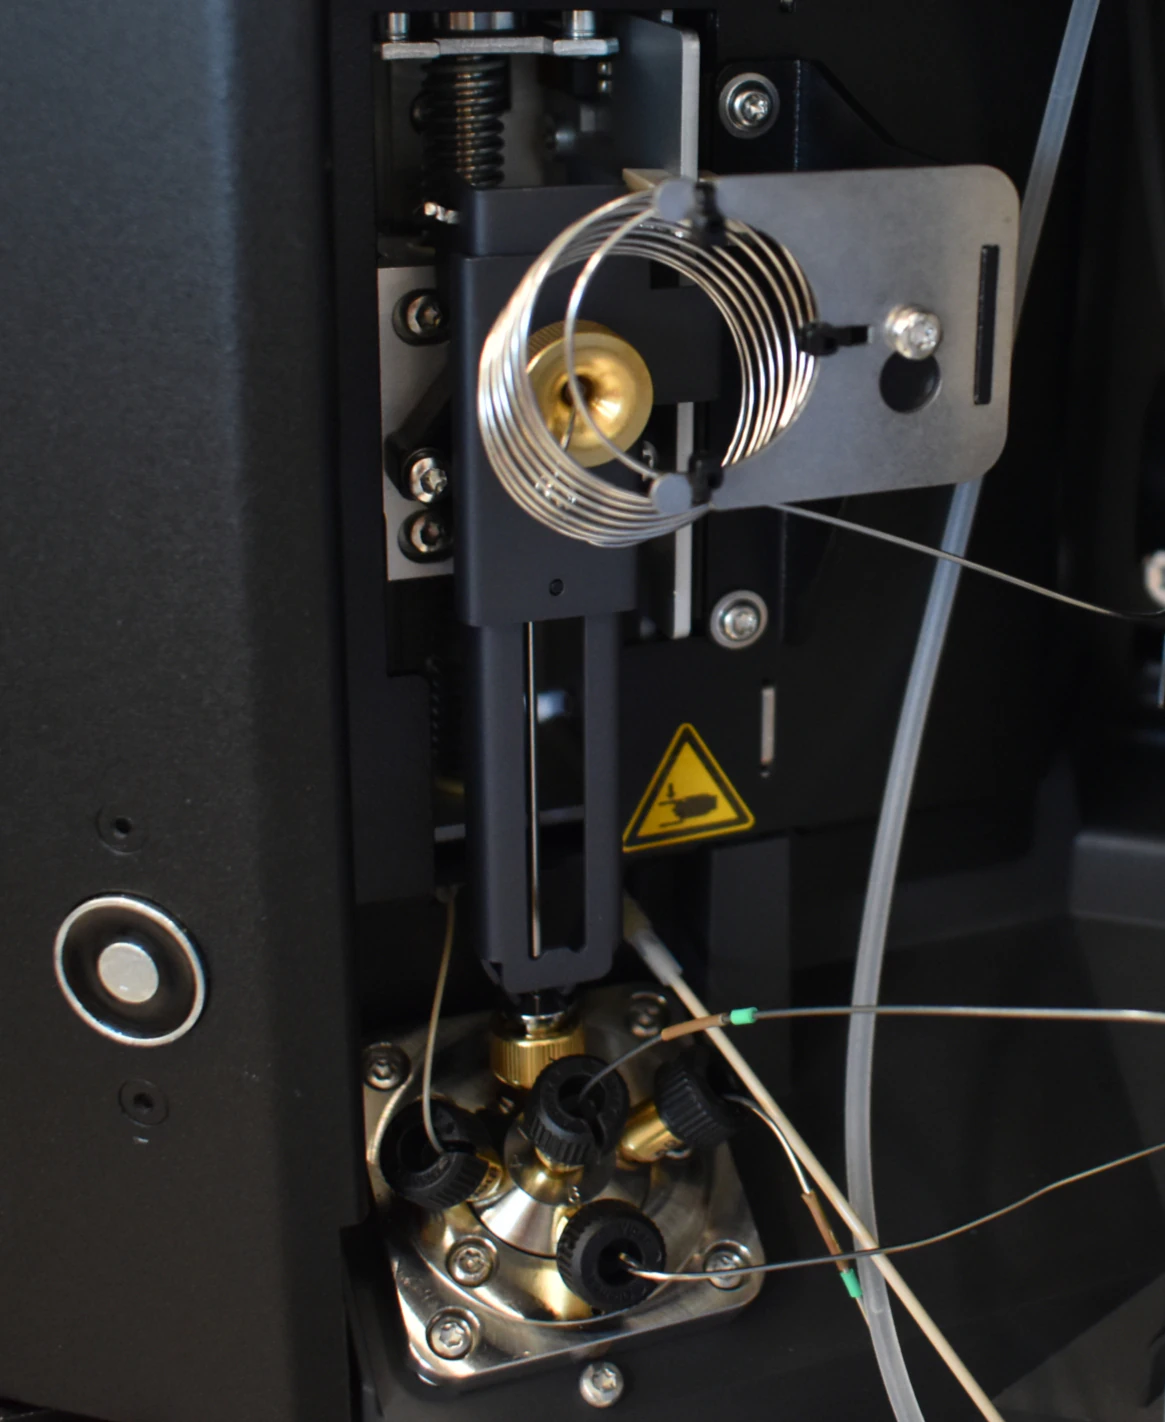
Blocked Autosampler Needles Causing Missing HPLC Peaks
Mechanisms, Chromatographic Signatures, Diagnostics, and Stepwise Remedies
Overview
A blocked autosampler needle (partial or complete) is one of the most common, easily overlooked causes of missing, suppressed, or highly variable peaks in HPLC/UHPLC. The column, pump, and detector may appear stable—backpressure and retention times can remain normal—while peak areas collapse or disappear because the true injected mass becomes unpredictable.
This technical guide explains the autosampler flow path, why needle/needle-seat obstruction causes injection volume error, what chromatographic signatures to expect, and a rigorous diagnostic and remediation workflow suitable for method troubleshooting, QA investigations, and system suitability recovery.
Key point: Blocked needles and contaminated needle seats primarily create injection-volume and recovery variability, producing missing or diminished peaks with stable retention time and unchanged system pressure in many cases.
Key Technical Terms (Definitions)
Autosampler (AS): Module that aspirates sample from a vial and delivers it to the injector valve via a needle, syringe (or metering device), and wash system.
Needle: Metal tube that pierces the vial septum and provides the aspiration/delivery pathway.
Needle seat: Sealing interface where the needle docks; a frequent location for particulate entrapment and salt crusting.
Sample loop: Fixed-volume tubing that holds sample prior to valve switching (for loop-based injection systems).
Injection valve (often 6-port): Rotary valve that switches between Load and Inject to place sample into the mobile-phase stream.
Septum coring: Septum fragments punched out by the needle; fragments can obstruct the needle and/or seat.
Carryover: Residual analyte in the flow path contaminating subsequent injections.
Strong wash / weak wash: Needle-wash solvents designed to dissolve hydrophobic residues (strong) and polar/salt residues (weak).
%RSD: Relative standard deviation, commonly used to evaluate replicate injection precision (peak area %RSD increases when injection volume is inconsistent).
Why a Blocked Needle Causes Missing or Variable Peaks
A needle or seat obstruction disrupts the aspiration → transfer → injection chain. The result is that the nominal injection volume is no longer the injected volume.
1) Flow Restriction During Aspiration
A partial blockage increases hydraulic resistance. The metering device may:
draw less liquid than expected, or
aspirate air instead of sample (especially if the restriction is intermittent).
Either case reduces injected mass and drives high area %RSD.
2) Microbubbles, Dead Volume, and Erratic Transfer
Obstructions can trap microbubbles or create sputtering flow. If air enters the needle/syringe/seat region:
sample transfer into the loop becomes inconsistent,
peak areas become erratic,
injections may intermittently “fail” (non-detect).
3) Needle Seat Leakage (Seal Compromise)
Debris lodged in the needle seat degrades sealing. This can:
divert part of the sample to waste or an unintended path,
reduce recovery even if aspiration volume appears normal.
4) Intermittency and Progressive Fouling
Needle/seat fouling often behaves like an intermittent restriction:
some injections appear normal,
others show suppressed or missing peaks,
replicate standards show rising %RSD and occasional non-detects.
Chromatographic Signatures You’ll Observe
Blocked needles typically produce a recognizable pattern:
Peak area suppression or complete absence with no major retention time change, when column chemistry and gradient timing are otherwise stable.
High peak area %RSD in replicate injections of standards (often >2–3% when method specs require ≤2%).
Inconsistent solvent-front or injection-marker behavior (system-dependent).
Baseline and system backpressure often unchanged (i.e., the column is not the restriction).
Autosampler audit trail entries / errors (instrument-dependent), such as aspiration fault, incomplete draw, abnormal plunger load, or syringe stall.
Practical interpretation: Stable retention times + stable pressure + unstable areas strongly suggests injection-volume error, and blocked needle/seat is a primary suspect.
Common Root Causes of Needle and Needle-Seat Blockage
These are the most frequent contributors in real labs:
Particulates in samples: undissolved solids, excipients, fillers, dust.
Precipitation from solvent mismatch: high-organic sample injected into highly aqueous initial conditions can crash out salts or hydrophobic matrix components inside the needle/seat.
Septum coring and glass particles: low-quality/worn septa, repeated punctures, chipped vials.
Protein/polymer aggregation: biopharma matrices and polymeric additives can foul needle/seat interfaces.
Microbial growth/biofilm (rare): possible with carbohydrate-rich matrices stored warm.
Crystallized buffers: phosphate or other inorganic salts can crystallize if wash is inadequate and residues dry.
Contaminated wash solvents: dirty wash bottles or incompatible wash chemistry can redeposit residues and worsen fouling.
Structured Diagnostic Workflow (Step-by-Step)
1) Confirm the Issue Is Injection-Related
Inject a fresh, filtered system suitability standard.
If retention times are consistent but peak areas are low/erratic → suspect injection path.
If possible, perform a manual injection. If peaks return to normal, the autosampler is implicated.
2) Check Autosampler Mechanics and Logs
Review audit trail for aspiration/plunger issues.
Compare commanded volume vs observed behavior (e.g., repeated aspiration faults, stalls).
3) Check Flow Continuity Through the Autosampler Path
Run autosampler Prime/Purge routines on syringe and wash lines.
Observe waste flow during wash/prime:
weak/sputtering flow suggests restriction,
smooth consistent flow supports normal plumbing.
4) Run a Low-Risk UV Probe Injection
Inject a simple probe compound from a clean, filtered vial (e.g., caffeine or acetone, detection at ~254–265 nm for typical UV methods).
Erratic peak areas here strongly indicate injection variability rather than chemistry-specific effects.
5) Optional: Gravimetric/Weighing Check
If practical, weigh vial before/after injections:
large deviation from expected mass removal suggests incomplete draw or air uptake.
6) Inspect the Hardware
Examine needle tip for burrs or signs of coring.
Inspect needle seat/O-ring for embedded debris.
Verify loop connections and valve condition (and metering device frit if applicable).
7) Differentiate Partial vs Complete Blockage
Partial blockage: small peaks, high %RSD, occasional normal injections.
Complete blockage: repeated non-detects, frequent autosampler errors, near-zero mass removal per injection.
Remediation Procedures (Rigorous, Low-Risk First)
Immediate Actions (Fast Recovery Steps)
Stop the sequence and isolate the autosampler.
Purge the syringe with fresh solvent compatible with sample diluent and mobile phase.
Prime weak wash (water/aqueous) then strong wash (ACN/IPA) to dissolve polar/salt residues and hydrophobic residues respectively.
Needle and Needle-Seat Cleaning
Remove needle per manufacturer procedure.
Rinse inside/out with water → ACN → IPA.
If proteinaceous fouling is suspected: use dilute base (0.05–0.1 N NaOH) followed by copious water, then organic rinse.
Avoid strong base if incompatible with seals/materials—confirm compatibility for your system.Clean needle seat; replace O-ring if worn or if debris is embedded.
Rinse seat with aqueous then organic solvents; ensure no visible particulate remains.
Injection Valve and Sample Loop Maintenance
Backflush valve and sample loop with filtered solvents in both directions.
Replace rotor seal if wear/scoring is present or if injection precision does not recover.
Wash Solvent Quality and Configuration
Replace wash bottles with fresh, filtered solvents.
Use a two-step wash:
weak wash (50–100% water)
strong wash (50–100% ACN/IPA)Ensure adequate wash volume/contact time (example you provided: 2–5 mL per cycle, 2–3 cycles).
Verify Recovery
Re-run system suitability and confirm:
peak area %RSD meets method spec,
no aspiration errors,
injection performance is stable across replicate injections.
Preventive Measures (Most Effective Long-Term Controls)
Sample Preparation and Solvent Compatibility
Filter samples/standards through 0.20–0.45 µm membranes (select membrane by solvent matrix and adsorption risk).
Centrifuge turbid samples before filtration.
Match sample diluent to initial mobile phase within ~10–20% organic when feasible to reduce precipitation risk.
Avoid wash-line exposure to buffers prone to crystallization; use volatile buffers when possible.
Consumables and Hardware Controls
Use low-coring septa and replace septa/vials regularly.
Guard columns and precolumn filters protect columns and check valves, but do not prevent needle/seat blockage—filtration at the vial remains essential.
Schedule periodic replacement of needle seats and rotor seals based on usage.
Autosampler Maintenance Discipline
Weekly prime/wash routines for needle and wash lines.
Keep wash reservoirs covered; replace solvents weekly.
Quarterly volume accuracy checks to validate metering device calibration.
Distinguishing Blocked Needles From Detector Problems
This is a key troubleshooting fork in real labs:
UV/Vis: Lamp aging or wavelength issues usually affect baseline/sensitivity broadly across runs.
Blocked needles cause injection-dependent losses with otherwise stable baseline/retention.Fluorescence or MS: A blocked injection produces absent peaks across detectors simultaneously.
If UV and MS both show missing peaks and manual injection restores them, the autosampler is the primary root cause.
Data Quality and System Suitability Targets
Typical acceptance targets (method-dependent):
peak area %RSD for ≥5 replicates: ≤2%
retention time RSD: ≤0.5%
tailing/resolution/plates within method limitsTrend monitoring:
rising %RSD, intermittent non-detects, repeated aspiration errors → progressive fouling is likely.
Quick Troubleshooting Checklist
Are retention times stable while areas vary? → suspect injection volume error.
Do audit logs show aspiration issues? → inspect needle/seat and syringe.
Does manual injection normalize areas? → autosampler fault confirmed.
Are wash solvents fresh and properly configured? → replace/reprime.
Is sample diluent compatible with initial mobile phase? → adjust to prevent precipitation.
Have you cleaned/replaced the needle seat O-ring? → do so if worn or contaminated.
Example SOP-Style Recovery Actions (as Provided)
Prime autosampler syringe: 5 mL weak wash, then 5 mL strong wash.
Backflush injection valve: 10 mL water, then 10 mL ACN; repeat twice.
Replace needle seat O-ring: inspect and reinstall; leak-test at low flow.
Verify volume accuracy: inject 5× standard; confirm %RSD ≤2%.
Summary
Blocked autosampler needles (and contaminated needle seats) create a classic injection-precision failure mode: missing or diminished peaks, elevated peak area %RSD, intermittent non-detects, and often stable retention time and unchanged backpressure. Root causes include particulate contamination, precipitation from solvent mismatch, septum coring, crystallized buffers, and insufficient needle washing. A structured diagnostic approach—confirming injection-related symptoms, verifying flow continuity, cleaning the needle/seat, backflushing the valve/loop, and validating recovery via system suitability—restores performance and prevents recurrence through improved sample prep and maintenance.