Autosampler Prime Mode Errors and Injection Failures
Field guide to troubleshoot Autosampler Prime Mode Errors and Injection Failures: common causes and practical remedies to recover sensitivity.
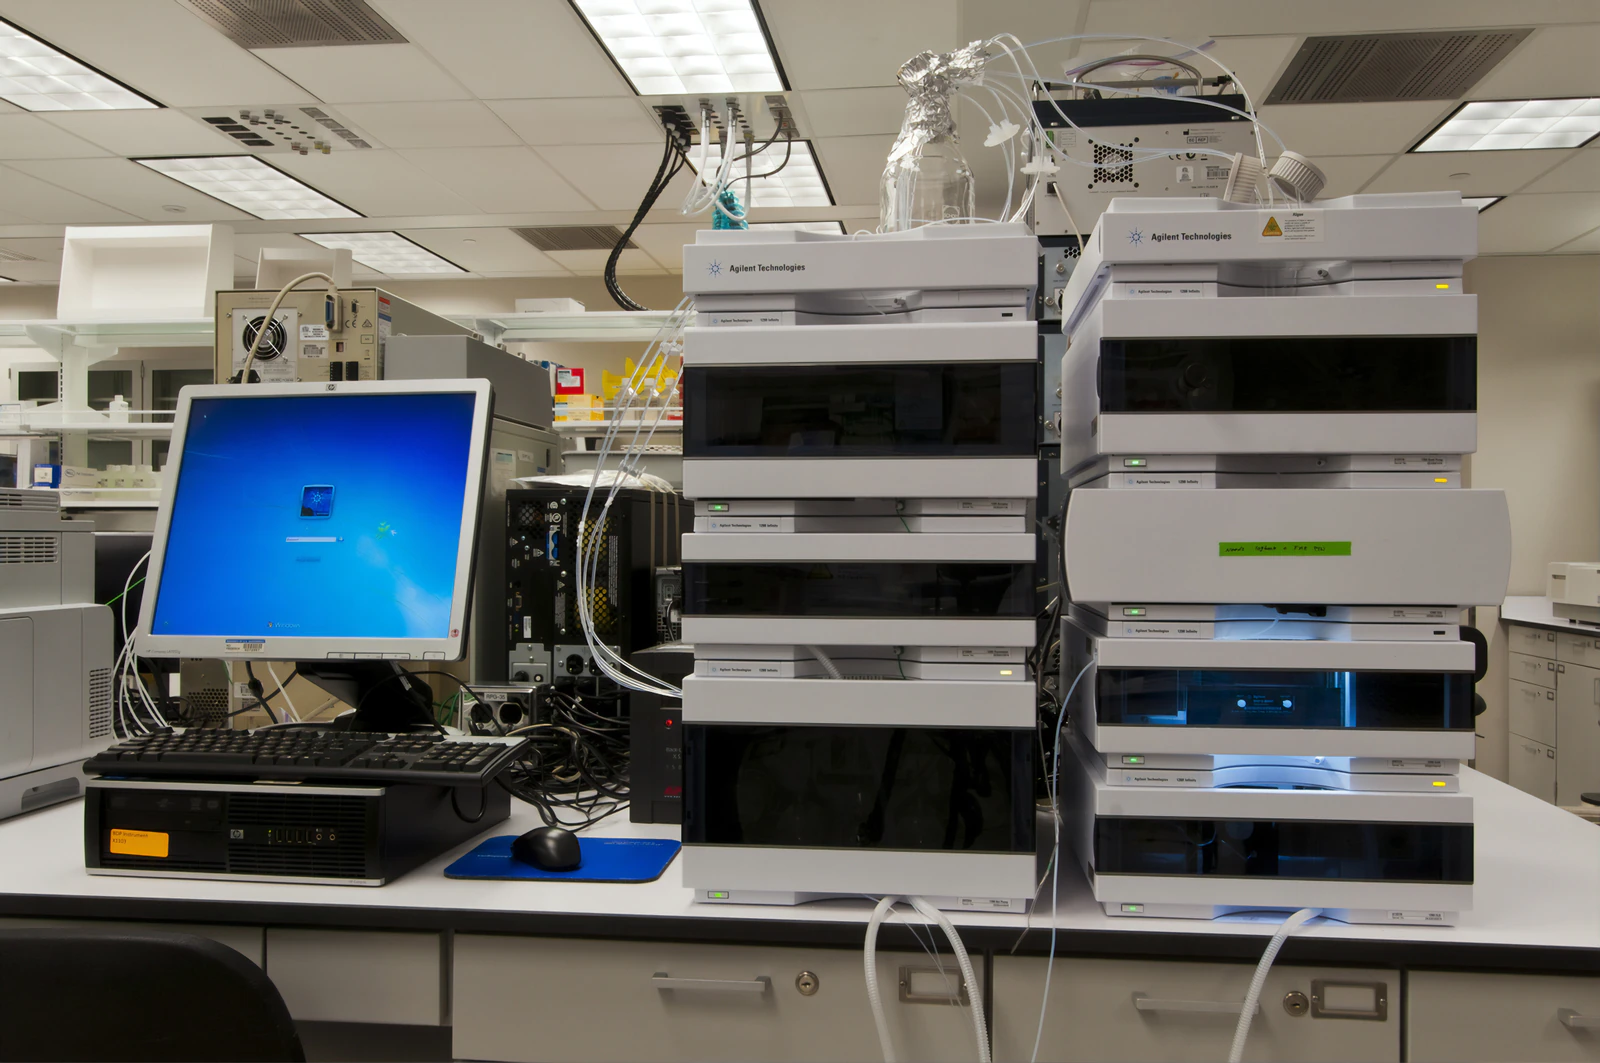
Autosampler Prime Mode Errors and Injection Failures
Root Causes, Error Codes, Diagnostics, and Step-by-Step Fixes for HPLC/UHPLC, LC–MS/MS, GC–FID, and GC–MS
Executive Overview
Autosamplers are critical subsystems in chromatography and hyphenated spectrometry workflows (HPLC/UPLC–UV/FL/ELSD, LC–MS/MS, GC–FID, GC–MS). They aspirate sample, meter precise volumes, and deliver reproducible injections into the chromatographic flow path (LC) or GC inlet. A common maintenance function is Prime mode—a controlled aspiration/dispense procedure intended to purge air, wet seals, and stabilize the syringe/needle/wash pathways before analysis.
When Prime mode fails (or only partially primes), autosamplers often show injection failures such as:
no peaks / missing peaks,
low or highly variable peak areas,
carryover after blanks,
baseline spikes at injection,
aspiration/plunger stall errors,
valve indexing errors (LC rotary valves),
docking/needle seat errors.
These problems usually originate from air ingress, restrictions, leaks, worn seals, miscalibration, solvent incompatibility, or software/interlock conditions. This article provides a technical framework to diagnose, understand, and correct Prime mode errors and injection failures with minimal risk to columns and detectors.
Key Definitions (Technical Terms)
Autosampler: Device that automates sample introduction (liquid or headspace) into LC or GC systems.
Prime mode: Controlled aspiration/dispense cycle used to purge air, wet syringe/needle seals, and condition solvent lines—typically directed to waste rather than through the analytical column.
Purge: High-displacement flushing operation (LC pump purge or autosampler syringe purge) designed to rapidly exchange solvent and evacuate trapped air.
Needle seat: Sealing interface where the needle docks (LC) or penetrates (GC inlet septum). Fouling or wear causes aspiration failure, leakage, carryover, or poor injections.
Rotor seal: Polymeric sealing element inside a rotary injection valve (LC). Wear causes internal bypass leaks, pressure instability, and inconsistent injections.
Syringe plunger/seal: Metering and sealing components controlling aspirate/dispense. Wear, swelling, or chemical attack causes aspiration errors and poor volume accuracy.
Check valve: One-way valve preventing backflow. Sticking/leaking reduces prime efficiency and can allow bubbles to persist.
Degassing: Removal of dissolved gases from mobile phase (vacuum degasser or sparging) to prevent bubble formation and cavitation.
Cavitation: Formation/collapse of vapor bubbles due to local pressure drops; disrupts aspiration and causes erratic prime/injection performance.
Carryover: Residual analyte in subsequent injections; commonly indicates inadequate washing or residue retention in needle/seat/valve/loop.
Backpressure: Hydraulic resistance experienced by flow. Abnormally high pressure during prime/injection indicates restriction or blockage (needle, seat, frit, tubing).
Autosampler Architectures and Why They Matter
Understanding your injection architecture determines where “Prime failed” truly originates.
LC fixed-loop / valve-based autosamplers
Sample is loaded into a sample loop via syringe/transfer lines; a rotary valve switches the loop inline with the pump flow.
Prime targets: syringe, transfer lines, valve ports, needle seat region (if present), and waste path.
LC direct injection / flow-through needle designs
Sample is aspirated and dispensed into flowing mobile phase through a needle/seat assembly.
Prime targets: needle interior/exterior, seat, low-pressure lines, and wash circuits.
GC liquid autosamplers
Needle pierces inlet septum and delivers into hot inlet/liner.
Prime often refers to syringe wash/conditioning cycles. Injection failures may also reflect inlet/septum/liner condition, not just syringe behavior.
Practical implication: “Prime failed” in LC is often fluidics (air, restriction, seat leak). In GC, “prime/wash failed” can be syringe blockage, residue crystallization, septum debris, or wash solvent incompatibility.
Typical Prime Mode Errors: Symptoms and Root Causes
1) Air in Lines / Incomplete Prime
Symptoms
visible bubbles in syringe/lines,
Prime failed / Prime timeout,
erratic aspiration volumes,
unstable baseline immediately after injection,
intermittent missing peaks.
Root causes
empty or poorly vented reservoir,
loose fittings, cracked ferrules/tubing,
inadequate degassing or degasser failure,
leaking check valve permitting backflow,
porous or damaged low-pressure tubing.
2) Plunger Stall / Syringe Load / Aspiration Errors
Symptoms
“Plunger stall,” “Syringe load error,” “Aspiration error,” repeated retries,
audible motor strain or slip,
incomplete draw/dispense.
Root causes
swollen plunger seal due to solvent incompatibility,
salt/particulate fouling inside syringe barrel or needle,
high viscosity solvent causing high load,
mechanical wear, scoring, or deposits in syringe.
3) Overpressure or Flow Restriction During Prime
Symptoms
pressure alarms (LC), slow/no dispense to waste,
prime cycle does not complete (timeout),
sputtering flow, intermittent dispensing.
Root causes
clogged needle or needle frit (if present),
fouled needle seat, seat capillary, or inline frit,
precipitated buffer salts,
collapsed filter, kinked PEEK tubing,
particulate contamination in low-pressure lines.
4) Valve Indexing Errors (LC)
Symptoms
“Valve not home,” indexing drift, incorrect port switching,
leakage in Load/Inject,
flow routed incorrectly (unexpected waste flow).
Root causes
rotor seal wear or deformation,
debris between stator and rotor,
motor/encoder misread (hardware),
excessive actuation wear or inadequate lubrication (where applicable).
5) Needle Lift/Dock Errors (LC)
Symptoms
“Needle seat unreachable,” docking retries,
leakage around seat during prime/injection,
inconsistent injection volumes.
Root causes
misalignment or calibration drift,
worn seat seal/O-ring,
obstruction on tray/vial position causing mechanical interference.
6) GC Syringe Prime/Wash Failures
Symptoms
inadequate wash, carryover spikes,
“Syringe blocked,” “Syringe wash failed,” inconsistent injections.
Root causes
crystallized residues or viscous matrices,
incompatible wash solvent (does not dissolve residue),
septum fragments or liner contamination,
needle damage or partial blockage.
Injection Failures: How to Differentiate Root Causes
A) No peak / severely reduced response
Most often: no sample delivered (aspiration failure, air slug, seat leak, blocked needle).
Distinguish from detector/column problems by:
verifying retention times of other peaks/markers,
observing solvent front behavior,
checking autosampler logs and waste flow.
B) Irreproducible peak areas and/or retention times
Suggests variable injected volume or unstable switching (valve/seat/air).
Common culprits: rotor seal leaks, air bubbles, inconsistent aspiration due to restriction.
C) Carryover after blanks
Typically wash/seat/needle residue, insufficient wash strength, or trapped residue in valve/loop.
D) Baseline spikes at injection time (especially LC–MS)
Often consistent with air slugs, cavitation events, or transient pressure pulses during valve actuation.
Systematic Troubleshooting Workflow (Instrument-Safe, Step-by-Step)
Always consult instrument pressure limits and depressurize before loosening any high-pressure connection.
1) Establish a Safe Baseline Condition
Remove or bypass the analytical column; install a union to eliminate backpressure during prime.
Use a clean, degassed solvent compatible with wetted materials, e.g.:
water/methanol 50:50, or
water/isopropanol 80:20 (when appropriate).Confirm reservoirs are filled and properly vented.
Why this matters: If prime fails even with the column removed, the problem is upstream—autosampler syringe/needle/seat/valve/lines—not the column.
2) Degas and Stabilize (Before Blaming the Autosampler)
Ensure vacuum degasser is enabled and functional.
If degasser is unavailable, gentle helium sparging can reduce bubbles (LC).
Run LC pump purge first to remove upstream bubbles before autosampler prime.
Diagnostic cue: Persistent bubbles after pump purge often indicate air ingress at fittings or a leak path.
3) Inspect and Tighten Low-Pressure Fluidics
Check low-pressure fittings on syringe, transfer lines, wash lines, and seat.
Replace cracked PEEK tubing, ferrules, or loose fittings.
Evaluate check valves (if present/accessible) for proper one-way function; replace if backflow occurs.
4) Execute a Controlled Prime (Controlled Parameters)
Start conservatively to avoid cavitation and mechanical overload:
LC starting conditions
Prime volume: 1–2 mL per cycle
Prime rate: 0.5–1.0 mL/min (moderate)
Cycles: 3–5 or until no bubbles and stable dispense
GC
Perform Syringe Wash and Prime Syringe cycles 3–5+ times
Use a strong but compatible wash solvent, then follow with sample solvent
Tip: If microbubbles persist, briefly increase prime rate to dislodge bubbles, then return to moderate rate to fully evacuate.
5) Clean and De-foul Critical Interfaces (Needle / Seat / Valve / Syringe)
Needle and needle seat
Flush with water (for salts) → then miscible organic (MeOH or IPA) → then mobile phase.
If salt precipitation is suspected: water first, then organic. Avoid drying salts in place.
LC rotary valve
Flush through valve ports to remove particles.
If load/inject leakage persists: inspect/replace rotor seal (common wear part).
Syringe barrel/plunger
If resistance persists or errors repeat: replace plunger seal or syringe assembly.
Deposits or scoring typically cause recurrent stalls and inaccurate metering.
6) Verify Volume Accuracy and Precision (Quantitative Proof)
Gravimetric check
Dispense known volumes (100 µL, 500 µL, 1000 µL) into a tared vial and confirm mass delivery consistency.
Repeatability check
Inject 5–7 replicates of a standard (e.g., caffeine for LC-UV; appropriate volatile for GC).
Typical targets:
LC: peak area %RSD ≤1–2% (method dependent)
GC: ≤3% (method dependent)
7) Address Software and Interlocks (Often Overlooked)
Confirm tray/vial mapping and sample list positions.
Resolve door open, needle park, missing vial, or collision errors.
Re-run alignment and needle height/dock calibration routines if available.
Review logs for recurrent codes:
plunger stall,
valve not home,
prime timeout,
docking retries.
8) Evaluate Solvent and Matrix Effects (Prime Can Fail Even When Hardware Is Fine)
High viscosity solvents increase plunger load—reduce speed and/or prime with a wetting mixture.
Proteinaceous/dirty matrices: pre-filter/centrifuge; increase wash strength and duration; avoid precipitation in the needle/seat.
9) Check for Mechanical Wear (When Cleaning Doesn’t Hold)
Indications for replacement:
Persistent seat leak → seat O-ring/seal
Valve indexing drift/leaks → rotor seal and possibly stator face
Plunger resistance → plunger seal/syringe replacement
GC inlet issues → septum and liner replacement; check for septum coring and inlet contamination
LC-Specific Considerations
Prime through waste/bypass whenever possible to avoid column pressurization.
If the system has compressibility compensation, ensure it’s configured for aqueous-rich solvents.
Watch the pressure trace: sudden perturbations during inject suggest valve/air events.
GC-Specific Considerations
Syringe conditioning: multiple prime cycles with compatible solvent, then sample solvent.
Inlet health: septum and liner condition strongly affects injection quality; septum coring can physically block syringe needles or create irregular injections.
Confirm inlet pressure and split ratio stability to rule out inlet-side variability.
Preventive Maintenance Best Practices (Reduces Prime Failures Dramatically)
Run Prime/Purge:
after solvent changes,
after idle periods,
before critical sequences.Alternate water and organic primes to maintain wettability and remove mixed residues.
Replace consumables on schedule:
rotor seals,
needle seats,
syringes/plunger seals,
inline frits/filters.Use high-purity solvents, keep reservoirs clean, and prevent buffer drying in lines.
Trend prime failures and error codes to predict wear-out before injection failure occurs.
Quick Reference: Error-to-Action Map (Fast Triage)
“Prime failed,” bubbles visible
increase prime cycles; verify degassing; tighten fittings; check check valve/backflow“Plunger stall”
reduce aspiration speed; use wetting solvent; inspect/replace plunger seal or syringe“Pressure high” during prime/inject
remove column; clean/replace needle seat; flush valve ports; check for kinks/blocked tubing“Valve not home”
re-index valve; inspect rotor seal; check for debris; review actuator/encoder statusCarryover after blanks
strengthen wash (weak + strong), add seat flush, increase wash cycles, inspect seat for residue
Validation After Fixes (Minimum Evidence Set)
Run:
5–7 replicate injections of a standard (precision check)
high sample → two blanks (carryover check)
review baseline behavior at injection and retention-time stability
Document: area %RSD, retention time %RSD, pressure stability, and error log status.
Summary
Autosampler Prime mode errors and injection failures are most commonly driven by air ingress, restrictions, leaks, worn syringe/needle/valve seals, and software/interlock states, often amplified by solvent viscosity and matrix fouling. A disciplined troubleshooting approach—bypass column, degas, inspect low-pressure fluidics, controlled prime cycles, targeted cleaning, quantitative volume verification, and alignment/interlock checks—restores injection reliability and protects data integrity across LC and GC platforms.